Planning to connect your WiFi baby monitor to a hotel network? Awesome! You’re gearing up for an exciting trip with your little one. Kudos to you for making that fantastic decision!
We traveled with our son first time when he was only 3 months old. It was stressful initially, but we had a lot of fun. In fact, we went on two more trips that year before he turned one.
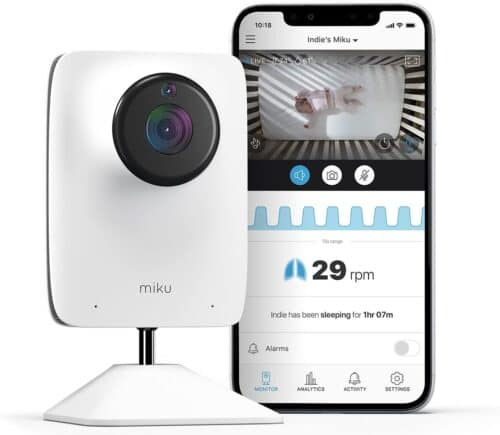
Now, let’s talk about WiFi baby monitors. There are many excellent options available.
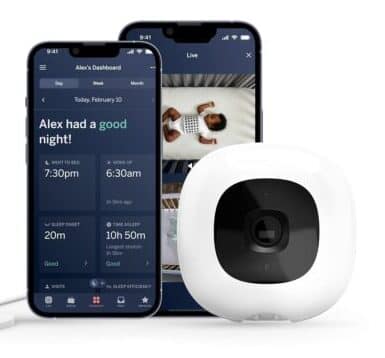
We personally use the Nanit Pro, which we absolutely love. We use it regularly at home and decided to bring it on our trip.
These monitors use WiFI to transfer video from the camera to your phone. It requires a username and password, just like our home network.
So here’s the problem. These monitors don’t work if
In these cases, your WiFi monitor will not work. Why? Simply because the App that lets you connect the baby monitor to the internet has username and password fields to connect to the internet.
There is no way or workaround for these baby monitors to use WiFi without a username and password. Annoying, I know!
Most hotels and resorts have either open WiFi networks without passwords or require guests to log in through a WiFi portal. This poses a problem for most WiFi baby monitors.
Luckily, we found a solution. If you run into this problem, there are three ways to create your private WiFi network with a username and password using an existing WiFi network.
If you are carrying a laptop, you can connect the laptop to the hotel’s public WiFi and then create a hotspot with a username and a password so you can connect the baby monitor to the network.
Both newer Windows and Apple (Mac) computers have this feature. Click the links below for the instructions on how to turn on the mobile hotspot function.
Once you created the hotspot, connect your baby monitor to this new WiFi network using the username and password you use to set up the network.
Similar to a laptop hotspot, you can connect the cell phone to the hotel or public WiFi and then create a hotspot for your baby monitor.
As long as you have a relatively newer smartphone, this feature is available.
See these links for creating a mobile hotspot using an Apple or Android device.
Once you created the hotspot, connect your baby monitor to this new WiFi network using the username and password you used to set up the network.
OK, we have seen the most commonly known hotspot options, but what’s the perfect solution? It’s called Travel Router.
They are lightweight, portable, reasonably inexpensive, efficient, and designed for this purpose only. We purchased a TP-Link travel router for our first trip with my son and have been using it ever since on vacations. It has been a fantastic addition to our travel essentials!
Connecting a travel router to a hotel or public WiFi network is a convenient solution for accessing the internet while on the go. These routers function similarly to regular WiFi routers, but they are compact, portable, and easy to set up.
There are mainly two types of travel routers you can buy.
These routers connect to an existing WiFi network, such as those provided by hotels or public places. Once connected, similar to hotspots, they create their own network that can be customized with username, password, and many other features as you like.
These routers depend on cell phone signals and need a SIM card from a cell service provider. Although these can be used in remote locations like camping or hiking spots, they come with the additional cost of buying a SIM card and service plan. Also, the average speed is slower than those that use available WiFi networks.
Which one is better? That depends on your needs and the nature of the destination you are planning to visit. In our case, we bought a router that uses existing WiFi networks (no SIM card) since network speed and maintenance cost were our priority. We are pleased with the TP-lInk router.
Here are the Pros and Cons of using a travel router….
When you’re using a travel router, make sure to hang on to all the instruction booklets and stickers that come with it in the box. They’re super important for setting it up at the start and for knowing how to reset it if you ever need to. We keep all the essential stuff neatly packed in a particular little case just for the router.
Although the installation steps may vary by model and manufacturer of the router, here are the general steps for setting it up.
Does it sound complicated? Don’t worry, it’s not as difficult as it sounds. There are many videos on YouTube specific to the make and model of the router you purchase. It can guide you step by step on how to set the router. It takes about 2 minutes, and you can enjoy your time worry-free for the rest of the vacation.
Connect your travel router to the hotel network before connecting other devices. Some hotels have limitations on the number of devices connected to their network, especially if you’re on a cruise where you may have to pay for each device you want to connect to their WiFi network.
And here’s an additional trick: If you find yourself in a situation where you have to pay for each device to use the WiFi, you can save some money by just paying for one device, the travel router, and then connect all your other devices to this router. The travel router can support unlimited connections, so you won’t have to pay for each device.
If you purchase the TP-Link travel router, here is the video for setup.
So now we know the best way to use a WiFi baby monitor in the hotel is to use a Travel router.
Once the router is set up, connect your trusty baby monitor to the travel router’s WiFi network like you would normally do, and you’re ready to rock and roll! Take a quick peek to ensure that the crib video is crystal clear, but rest assured, your baby monitor will work like a charm while you’re on the move. And here’s the best part: now that your baby monitor is connected to the internet, you don’t need to keep your phone or laptop tied to the travel router’s WiFi. You can switch over to the Hotel WiFi if you prefer and still maintain a watchful eye on your little one. You can even venture a bit further, like a mini adventure to the ice machine in the hallway, without worrying about the range of the router’s WiFi signal.
So go ahead, explore, and enjoy the perks of having your baby monitor game on point!
Family travel tips, guides, itineraries and more…
Get notified about new travel tips and hacks